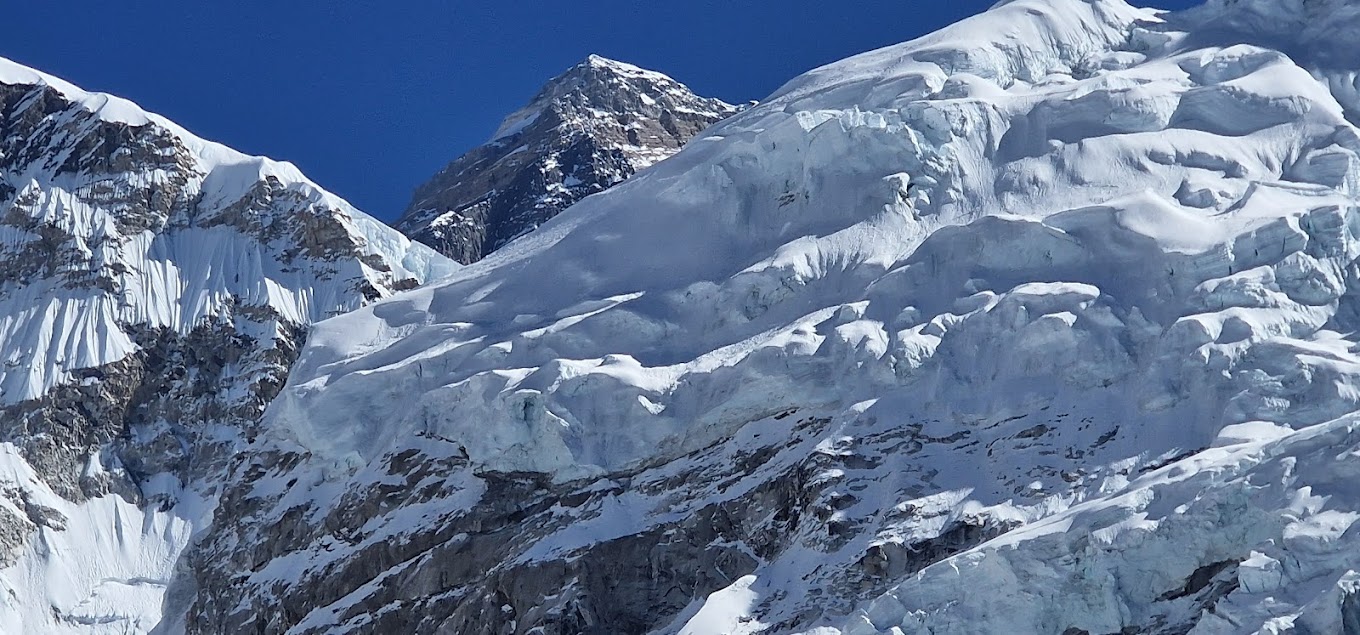
Baruntse Expedition
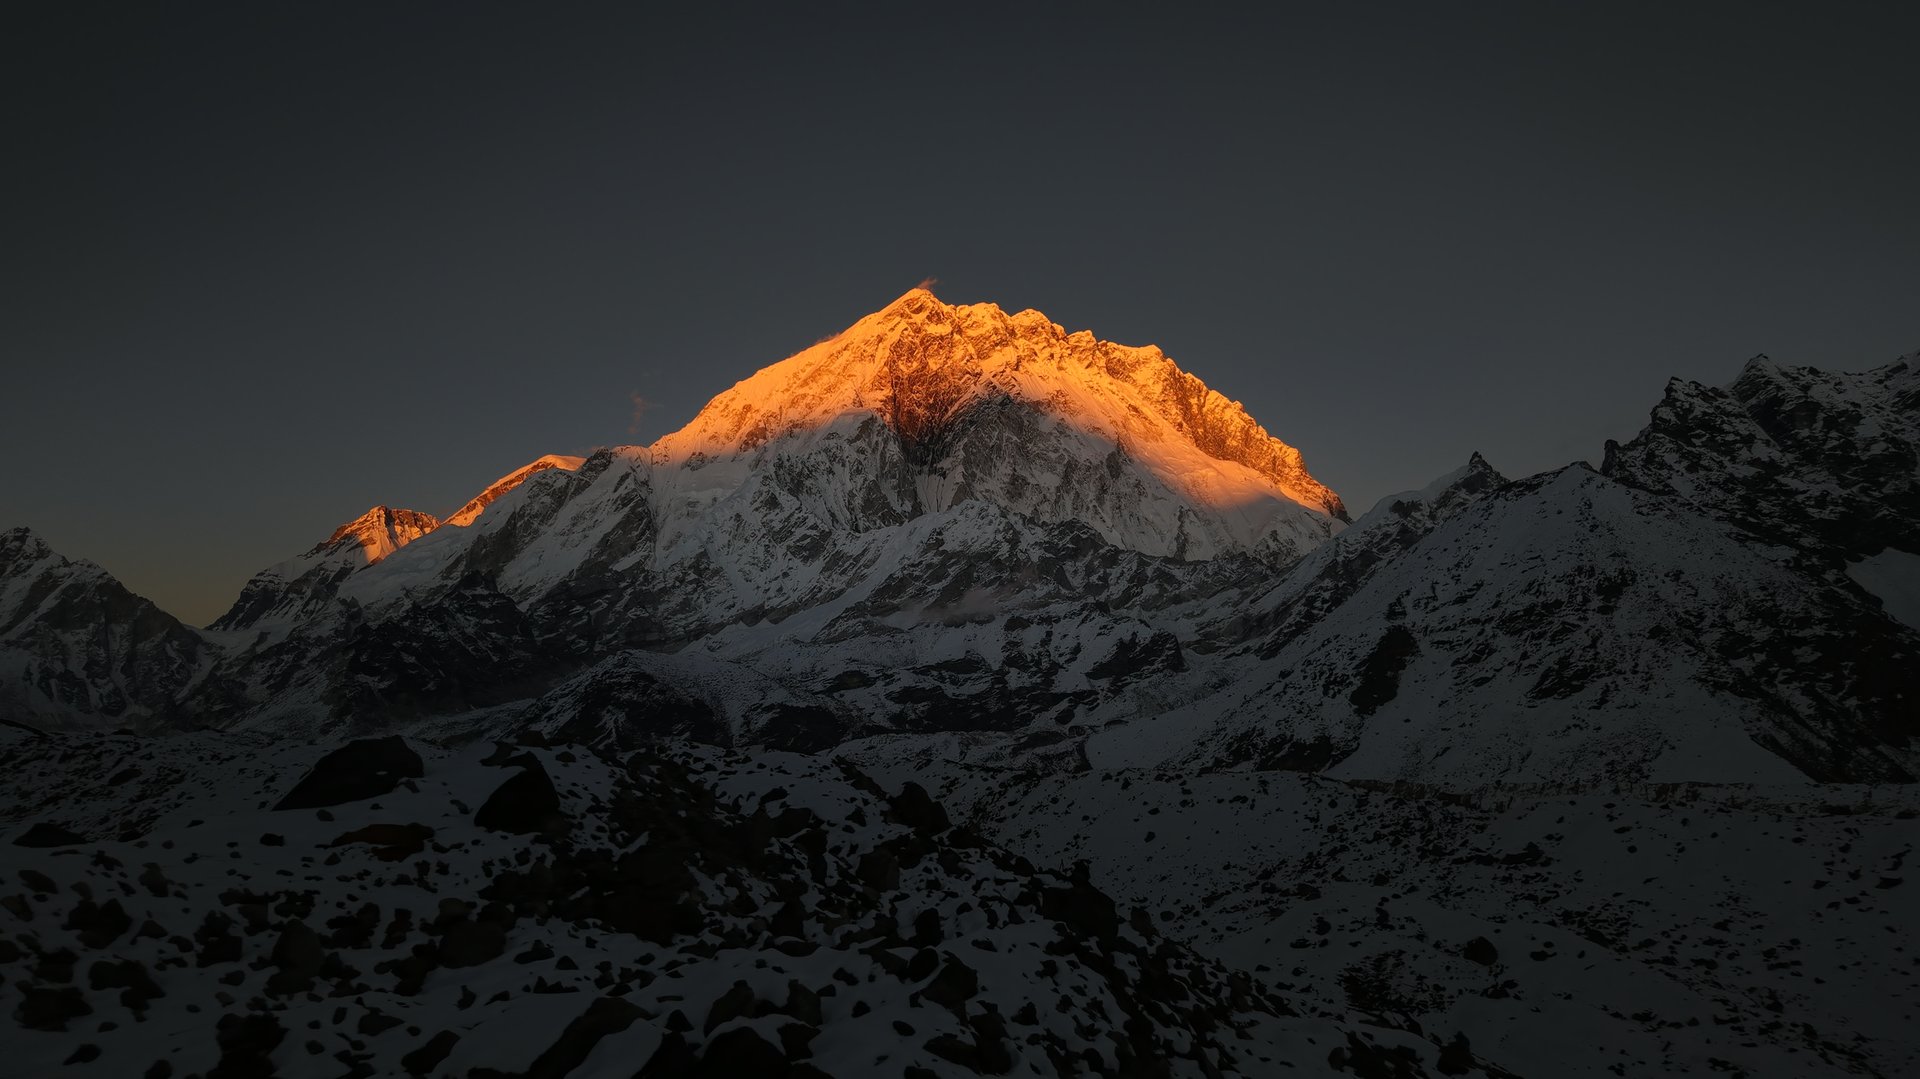
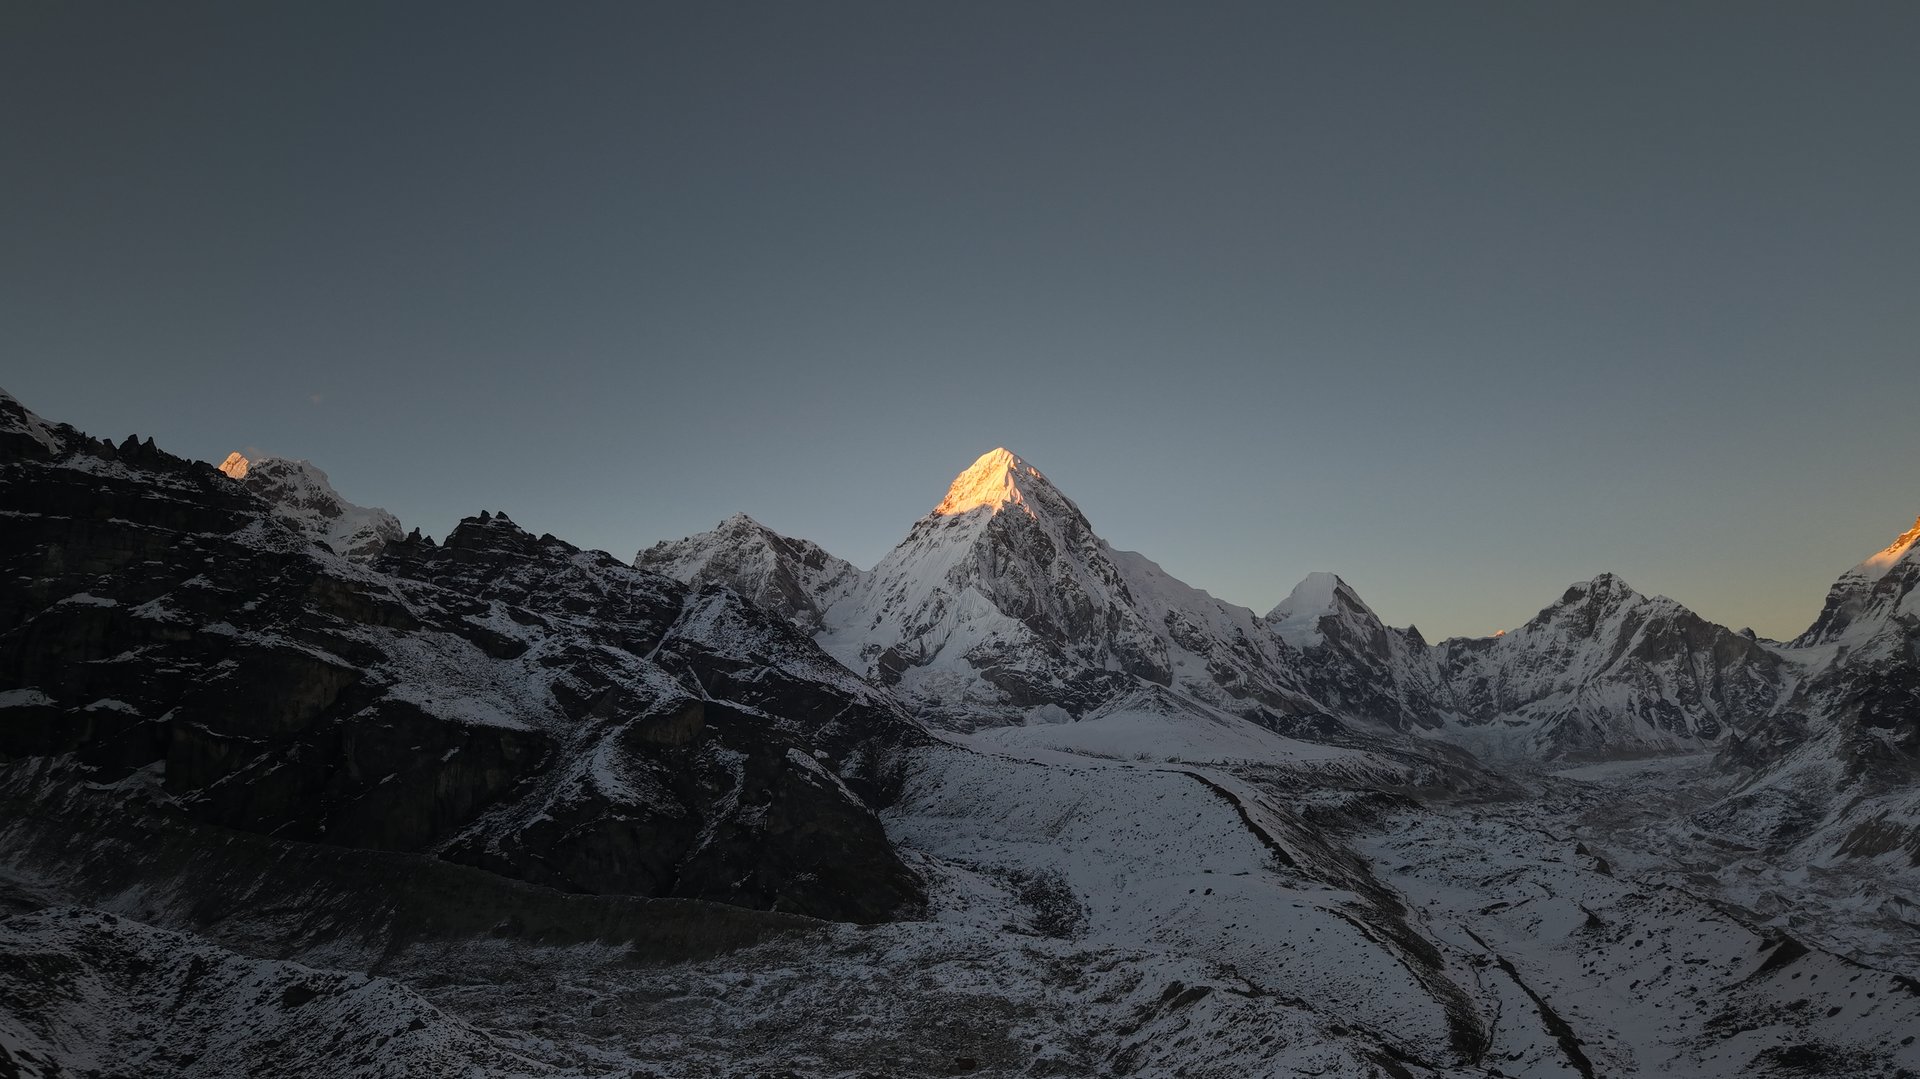
Baruntse – Sentinel Between Giants, where ice ridges and hidden glaciers guard the silence between Everest and Makalu.
Expedition Overview
<div>
<div>Expedition Overview
<h2>What is the Baruntse Expedition?</h2>
<p>Baruntse (7,129 m / 23,389 ft) rises at the meeting point of three great glacier valleys – the Barun, the Imja, and the Hunku – sitting almost exactly between its towering neighbours <a href="https://www.altiproadventures.com/expeditions/expedition/lhotse-expedition/">Lhotse</a> and Makalu. Crowned by four ridges and four summits, it was one of the earliest Himalayan peaks in the <a href="https://www.altiproadventures.com/trekking/region/everest-region/">Everest region</a> recognised by Sir Edmund Hillary's team. Colin Todd and Geoff Harrow made the first ascent on 30 May 1954 via the Southeast Ridge, as part of a New Zealand expedition led by Hillary. It remains the standard and most reliable line on the mountain to this day.</p>
<p>Widely regarded as a semi-technical 7,000m peak, Baruntse offers steep snow and ice climbing, crevassed glacier travel, and fixed-rope sections above the high camps – serious enough to test experienced mountaineers, yet attainable for well-prepared climbers stepping up from a 6,000m peak. Its position and moderate technical demands make it one of the most popular training objectives for climbers with sights set on an 8,000m expedition.</p>
<p>AltiPro Adventures runs the Baruntse Expedition, a full-board departure combining the approach through the remote Hunku Valley with a dedicated 1:1 Climbing Sherpa ratio and a personalised support structure throughout.</p>
</div>
<div> </div>
<div>WHY THIS MOUNTAIN
<h2>Why Climb Baruntse?</h2>
<p>Baruntse sits in a rare sweet spot among Nepal's 7,000m peaks – technical enough to build genuine high-altitude climbing skills, without the extreme objective danger found on neighbouring giants. For climbers who have completed a <a href="https://www.altiproadventures.com/expeditions/expedition/mera-peak-expedition/">Mera Peak Expedition</a> and are ready to progress, Baruntse is a natural next step before an <a href="https://www.altiproadventures.com/expeditions/expedition/amadablam-expedition/">Ama Dablam Expedition</a> or an 8,000m attempt.</p>
<div>
<div>
<h3>A Proven Training Ground</h3>
<p>The Southeast Ridge route packs in crevassed glacier travel, a steep ice wall, and a corniced summit ridge – the full toolkit of high-altitude mountaineering compressed into a single expedition, making it one of the most respected preparation peaks for 8,000m climbing.</p>
</div>
<div>
<h3>Remote, Uncrowded Approach</h3>
<p>The trek to Base Camp runs through the wild, sparsely settled Hunku Valley rather than the busy EBC corridor, offering a genuinely remote Himalayan approach before climbers even reach the mountain.</p>
</div>
<div>
<h3>Combine With Mera Peak</h3>
<p>AltiPro's itinerary builds in an optional ascent of <a href="https://www.altiproadventures.com/expeditions/expedition/mera-peak-expedition/">Mera Peak (6,476 m)</a> en route, giving climbers a crucial acclimatization summit and a confidence check before the technical climbing on Baruntse begins.</p>
</div>
<div>
<h3>Safety-Forward Climbing Structure</h3>
<p>An Expedition Doctor, daily oxygen saturation monitoring, and a Hyperbaric Chamber Bag on standby are maintained at Base Camp throughout the climbing period, with every safety protocol implemented and maintained.</p>
</div>
<div>
<h3>Sweeping Summit Views</h3>
<p>The summit ridge delivers one of the finest panoramas in the Khumbu – Everest, Lhotse, Makalu, Cho Oyu, Kanchenjunga, Nuptse, and Mera Peak all visible from a single vantage point above 7,000 m.</p>
</div>
<div> </div>
</div>
</div>
<div> </div>
<div>Route & Approach
<h2>Southeast Ridge Route (7,129 m)</h2>
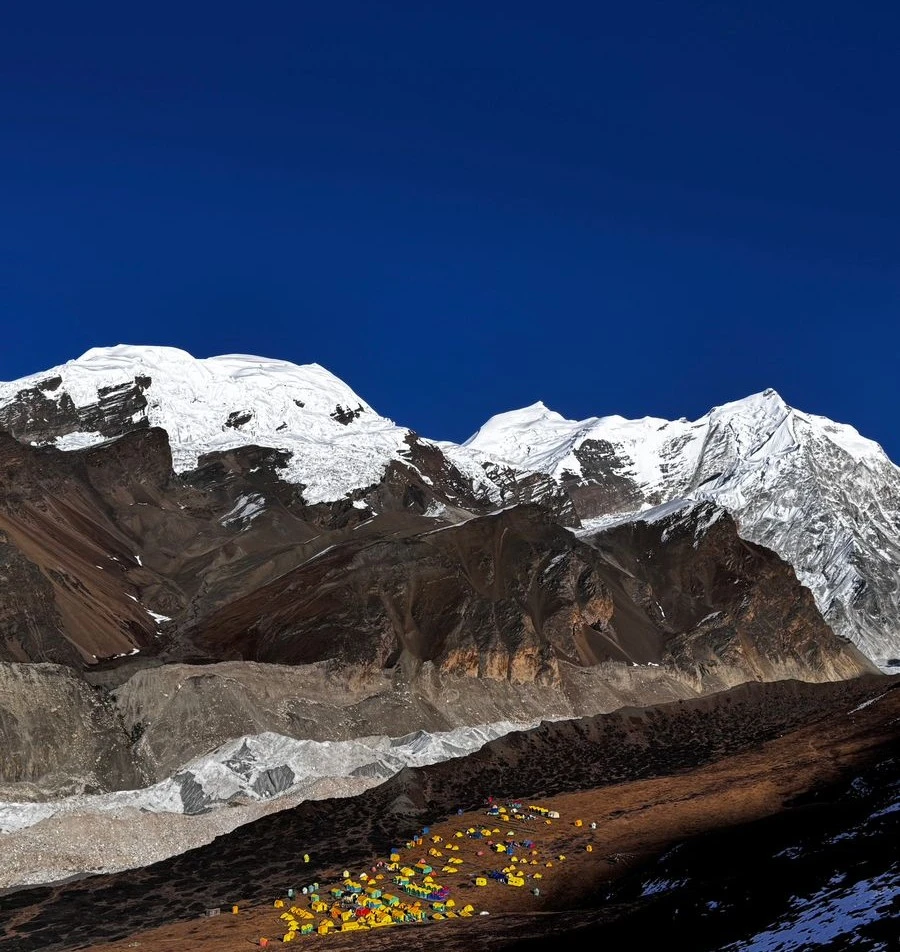
<p>The Southeast Ridge is the standard and most travelled line on Baruntse, first climbed by Colin Todd and Geoff Harrow in 1954. Base Camp sits at around 5,300 m near a cluster of pristine lakes below the Amphu Labtsa pass, reached via the remote Hunku Valley rather than the main Everest Base Camp trail. From Base Camp, the route climbs a crevassed glacier to Camp I below the West Col, then follows the Southeast Ridge to Camp II before a steep ice wall and exposed summit ridge lead to the top.</p>
<div>
<div>
<div>1</div>
<div>
<h4>Base Camp to Camp I – West Col (5,300 m → approx. 5,700 m)</h4>
<p>A crevassed glacier crossing leads to Camp I just below the West Col, with fixed ropes placed across hidden crevasses along the way. This section builds the acclimatization foundation for the climb ahead.</p>
</div>
</div>
<div>
<div>2</div>
<div>
<h4>Camp I to Camp II – Southeast Ridge (approx. 5,700 m → 6,400 m)</h4>
<p>A sustained uphill climb on glacial slopes onto the Southeast Ridge itself, set on the Upper Barun Glacier. Fixed ropes are maintained throughout by the climbing Sherpa team to manage the crevassed terrain.</p>
</div>
</div>
<div>
<div>3</div>
<div>
<h4>Camp II to the Ice Wall (6,400 m → approx. 6,900 m)</h4>
<p>The route steepens toward a prominent ice wall, the technical crux of the climb, tackled on fixed lines. This section demands solid cramponing and jumaring technique before the terrain eases onto the upper ridge.</p>
</div>
</div>
<div>
<div>4</div>
<div>
<h4>Summit Push – Ice Wall to Baruntse (approx. 6,900 m → 7,129 m)</h4>
<p>Above the ice wall, an exposed and occasionally corniced summit ridge leads to the top, with sweeping views across Everest, Lhotse, Makalu, and the surrounding Khumbu peaks. The descent retraces the same fixed lines back to Camp II and Base Camp.</p>
</div>
</div>
</div>
</div>
<div> </div>
<div>Acclimatization
<h2>Acclimatization Rotations</h2>
<p>The approach through the Hunku Valley builds altitude exposure gradually before any technical climbing begins, with an optional ascent of <a href="https://www.altiproadventures.com/expeditions/expedition/mera-peak-expedition/">Mera Peak (6,476 m)</a> serving as a natural acclimatization summit ahead of Baruntse Base Camp.</p>
<div>
<div>
<div>1</div>
<div>
<h4>1st Rotation – up to 5,700 m</h4>
<p>Base Camp → Camp I → Base Camp</p>
<p>Cross the crevassed lower glacier to establish Camp I below the West Col, then descend to Base Camp to recover before advancing higher onto the ridge.</p>
</div>
</div>
<div>
<div>2</div>
<div>
<h4>2nd Rotation – up to 6,400 m+</h4>
<p>Camp I → Camp II → Base Camp</p>
<p>Advance along the Southeast Ridge to establish Camp II, gaining exposure to the upper mountain's fixed-line terrain before returning to Base Camp for full recovery ahead of the summit push.</p>
</div>
</div>
</div>
</div>
<div> </div>
<div>Difficulty
<h2>How Difficult is the Baruntse Expedition?</h2>
<p>Baruntse is graded semi-technical – considerably less demanding than its taller neighbours, yet serious enough to require genuine mountaineering skill. The crevassed glacier approach, the steep ice wall near 6,900 m, and the exposed, occasionally corniced summit ridge call for solid cramponing, jumaring, and fixed-rope technique. AltiPro recommends prior experience on a 6,000m peak, ideally a <a href="https://www.altiproadventures.com/expeditions/expedition/mera-peak-expedition/">Mera Peak Expedition</a>, before accepting any application.</p>
<div>
<div>
<div>Overall difficulty</div>
<div>
<div> </div>
</div>
<div>6 / 10</div>
</div>
<div>
<div>Technical climbing</div>
<div>
<div> </div>
</div>
<div>5.5 / 10</div>
</div>
<div>
<div>Physical demand</div>
<div>
<div> </div>
</div>
<div>6.5 / 10</div>
</div>
<div>
<div>Altitude challenge</div>
<div>
<div> </div>
</div>
<div>5.5 / 10</div>
</div>
</div>
</div>
<div> </div>
<div>Best Season
<h2>Best Season for the Baruntse Expedition</h2>
<p>Baruntse is climbable in both Spring (April–May) and Autumn (October–November), unlike many of its higher neighbours which favour a single season. AltiPro targets stable weather windows in either season, with the route's moderate technical demands allowing more flexibility around timing than the 8,000m giants nearby.</p>
<div>
<div>Jan</div>
<div>Feb</div>
<div>Mar</div>
<div>Apr</div>
<div>May</div>
<div>Jun</div>
<div>Jul</div>
<div>Aug</div>
<div>Sep</div>
<div>Oct</div>
<div>Nov</div>
<div>Dec</div>
</div>
<div>Ideal seasonPossibleNot recommended</div>
<p><strong>Spring (April–May):</strong> The primary window, with April covering the Hunku Valley approach and early acclimatization, and May offering the most stable conditions for the summit push.</p>
<p><strong>Autumn (October–November):</strong> A well-established secondary window, with post-monsoon skies and steady conditions on the Southeast Ridge making this a genuine alternative to Spring.</p>
</div>
<div> </div>
<div>Cost & Packages
<h2>Baruntse Expedition Cost</h2>
<div>
<div>
<h3>Full-board package – all permits, 1:1 Sherpas, and Expedition Doctor included.</h3>
<p>The AltiPro Baruntse Expedition covers 4-star Kathmandu accommodation, all transport including Ramechhap–Lukla flights, the full permit package (Climbing Royalty, Makalu-Barun National Park entry, liaison officer fees), a 1:1 Climbing Sherpa ratio, an on-site Expedition Doctor, and complete high-camp infrastructure. International flights, personal gear, and summit bonuses are not included. <a class="exp-cost-inline-link" href="https://www.altiproadventures.com/expeditions/expedition/baruntse-expedition/">Contact us</a> to discuss availability and pricing.</p>
</div>
<div><a class="exp-cost-btn" href="https://www.altiproadventures.com/expeditions/expedition/baruntse-expedition/">Enquire Now</a></div>
</div>
</div>
<div> </div>
<div>FAQs
<h2>Baruntse Expedition – FAQs</h2>
<p>Common questions about the Baruntse Expedition with AltiPro Adventures.</p>
<div>
<div>
<h3>How long is the Baruntse Expedition?</h3>
<p>The AltiPro Baruntse Expedition runs approximately 30–33 days, including the approach trek through the Hunku Valley, acclimatization rotations, the summit push, and return to Kathmandu.</p>
</div>
<div>
<h3>What experience is required?</h3>
<p>AltiPro recommends prior high-altitude mountaineering experience on a 6,000–6,500 m peak, such as <a href="https://www.altiproadventures.com/expeditions/expedition/mera-peak-expedition/">Mera Peak</a>, before accepting any application. Contact us to discuss your background.</p>
</div>
<div>
<h3>What permits are included?</h3>
<p>The package covers the Climbing Royalty (Nepal government summit permit), Makalu-Barun National Park entry, and all liaison officer arrangements.</p>
</div>
<div>
<h3>Can I combine Baruntse with Mera Peak?</h3>
<p>Yes. AltiPro's itinerary builds in an optional ascent of <a href="https://www.altiproadventures.com/expeditions/expedition/mera-peak-expedition/">Mera Peak (6,476 m)</a> en route to Baruntse Base Camp, giving climbers a valuable acclimatization summit before the technical climbing begins.</p>
</div>
<div>
<h3>What is the Climbing Sherpa ratio?</h3>
<p>AltiPro guarantees a 1:1 Climbing Sherpa ratio – one dedicated Sherpa per climber – for the entire expedition from Base Camp through the summit push and descent.</p>
</div>
<div>
<h3>When is the best time to climb Baruntse?</h3>
<p>Both Spring (April–May) and Autumn (October–November) offer stable climbing windows, giving more scheduling flexibility than many of Nepal's higher peaks.</p>
</div>
<div>
<h3>What is not included in the package?</h3>
<p>International flights, personal climbing gear, travel insurance, personal expenses, and Sherpa summit bonuses are not included. A full equipment list is provided upon booking confirmation.</p>
</div>
</div>
</div>
</div>
Detailed Itinerary
Click on each day to view details
| Day | Program | Meals | Accom. | |||||||||||||||||||||||||||||||||||||||||||||||||||||||||||||||||||||||||||||||||||||||||||||||||||||||||||||||||||||||||||||||||||||||||||||||||||||||||||||||||||||||||||||||||||||||||||||||||||||||||||||||||||||||||||||||||||||||||||||||||||||||||||||||||||||||||||||||||||||||||||||||||||||||||||||
|---|---|---|---|---|---|---|---|---|---|---|---|---|---|---|---|---|---|---|---|---|---|---|---|---|---|---|---|---|---|---|---|---|---|---|---|---|---|---|---|---|---|---|---|---|---|---|---|---|---|---|---|---|---|---|---|---|---|---|---|---|---|---|---|---|---|---|---|---|---|---|---|---|---|---|---|---|---|---|---|---|---|---|---|---|---|---|---|---|---|---|---|---|---|---|---|---|---|---|---|---|---|---|---|---|---|---|---|---|---|---|---|---|---|---|---|---|---|---|---|---|---|---|---|---|---|---|---|---|---|---|---|---|---|---|---|---|---|---|---|---|---|---|---|---|---|---|---|---|---|---|---|---|---|---|---|---|---|---|---|---|---|---|---|---|---|---|---|---|---|---|---|---|---|---|---|---|---|---|---|---|---|---|---|---|---|---|---|---|---|---|---|---|---|---|---|---|---|---|---|---|---|---|---|---|---|---|---|---|---|---|---|---|---|---|---|---|---|---|---|---|---|---|---|---|---|---|---|---|---|---|---|---|---|---|---|---|---|---|---|---|---|---|---|---|---|---|---|---|---|---|---|---|---|---|---|---|---|---|---|---|---|---|---|---|---|---|---|---|---|---|---|---|---|---|---|---|---|---|---|---|---|---|---|---|---|---|---|---|---|---|---|---|---|---|---|---|---|---|---|---|---|---|---|---|
| 1 | Arrival in Kathmandu (1,350m) | Dinner | Hotel | |||||||||||||||||||||||||||||||||||||||||||||||||||||||||||||||||||||||||||||||||||||||||||||||||||||||||||||||||||||||||||||||||||||||||||||||||||||||||||||||||||||||||||||||||||||||||||||||||||||||||||||||||||||||||||||||||||||||||||||||||||||||||||||||||||||||||||||||||||||||||||||||||||||||||||||
|
Transfer to 4-star hotel. Welcome dinner and Baruntse Expedition 2027 briefing.
2
|
Kathmandu — Permits & Gear Check |
Breakfast |
Hotel |
|
|
Permit processing (Baruntse royalty, MCAP, Sagarmatha NP permit), gear check, and last-minute shopping in Thamel.
3
|
Fly to Lukla & Trek to Chutanga (3,020m) |
Breakfast / Lunch / Dinner |
Lodge |
|
|
Flight from Kathmandu to Lukla (2,840m), then trek to Chutanga, entering the wild Hinku Valley corridor.
4
|
Acclimatization Day at Chutanga |
Breakfast / Lunch / Dinner |
Lodge |
|
|
Short hike above the village to prepare for the Zatrwa La crossing.
5
|
Cross Zatrwa La Pass (4,610m) to Thuli Kharka (4,300m) |
Breakfast / Lunch / Dinner |
Lodge |
|
|
First high-pass crossing of the expedition, descending to Thuli Kharka, 6–7 hours.
6
|
Trek to Kothe (3,700m) |
Breakfast / Lunch / Dinner |
Lodge |
|
|
Trek through the Hinku River gorge and rhododendron forests, with the first glimpse of Mera Peak.
7
|
Trek to Thangnak (4,356m) |
Breakfast / Lunch / Dinner |
Lodge |
|
|
Ascend through the remote upper Hinku Valley, passing the Makalu-Barun National Park checkpoint.
8
|
Trek to Khare (5,045m) |
Breakfast / Lunch / Dinner |
Lodge |
|
|
Trek to Khare, the last permanent teahouse before the glaciers, with an acclimatization check.
9
|
Acclimatization Day at Khare |
Breakfast / Lunch / Dinner |
Lodge |
|
|
Optional hike toward Mera High Camp for acclimatization benefit, with rest in the afternoon.
10
|
Cross Mera La to Seto Pokhari (5,000m) |
Breakfast / Lunch / Dinner |
Tent |
|
|
Cross Mera La (5,415m) and descend to Seto Pokhari, with Baruntse and Chamlang visible ahead.
11
|
Trek to Baruntse Base Camp (5,400m) |
Breakfast / Lunch / Dinner |
Tent |
|
|
Trek from Seto Pokhari to Baruntse Base Camp, arriving at the fully established AltiPro camp on the Hunku Glacier moraine.
12
|
Puja Ceremony & Route Briefing |
Breakfast / Lunch / Dinner |
Tent |
|
|
Puja ceremony at Baruntse Base Camp, route briefing, gear check, and medical O2 baseline. 6-hourly summit forecasts begin.
13
|
Acclimatization at Base Camp |
Breakfast / Lunch / Dinner |
Tent |
|
|
Short reconnaissance toward the West Col approach, with rest in the afternoon.
14 – 16
|
1st Rotation — Base Camp to Camp I (6,100m) via West Col |
Breakfast / Lunch / Dinner |
Tent |
|
|
First rotation via the West Col, including a 200m, 45° ice wall, for an overnight stay at Camp I, then return to Base Camp. First exposure above 6,000m, with an Expedition Doctor O2 review on return.
17 – 18
|
Rest Days at Base Camp |
Breakfast / Lunch / Dinner |
Tent |
|
|
Rest at Baruntse Base Camp with a doctor review, while Sherpa teams ferry loads to Camp I and Camp II.
19 – 21
|
2nd Rotation — Camp I to Camp II (6,400m) |
Breakfast / Lunch / Dinner |
Tent |
|
|
Second rotation to the upper Southeast Ridge col position at Camp II for an overnight stay, then return to Base Camp. Sharp ridge above 6,900m assessed, with medical clearance beginning.
22 – 23
|
Rest Days at Base Camp — Summit Window Monitoring |
Breakfast / Lunch / Dinner |
Tent |
|
|
Full rest at Base Camp with oxygen cache confirmed and the summit weather window closely tracked.
24
|
Summit Bid — Base Camp to Camp I (6,100m) via West Col |
Breakfast / Lunch / Dinner |
Tent |
|
|
Begin the summit push, moving from Base Camp to Camp I via the West Col.
25
|
Summit Bid — Camp I to Camp II (6,400m) |
Breakfast / Lunch / Dinner |
Tent |
|
|
Move to the final Southeast Ridge col camp at Camp II for a pre-summit briefing and early sleep.
26
|
Summit Day — Baruntse (7,129m) |
Breakfast / Lunch / Dinner |
Tent |
|
|
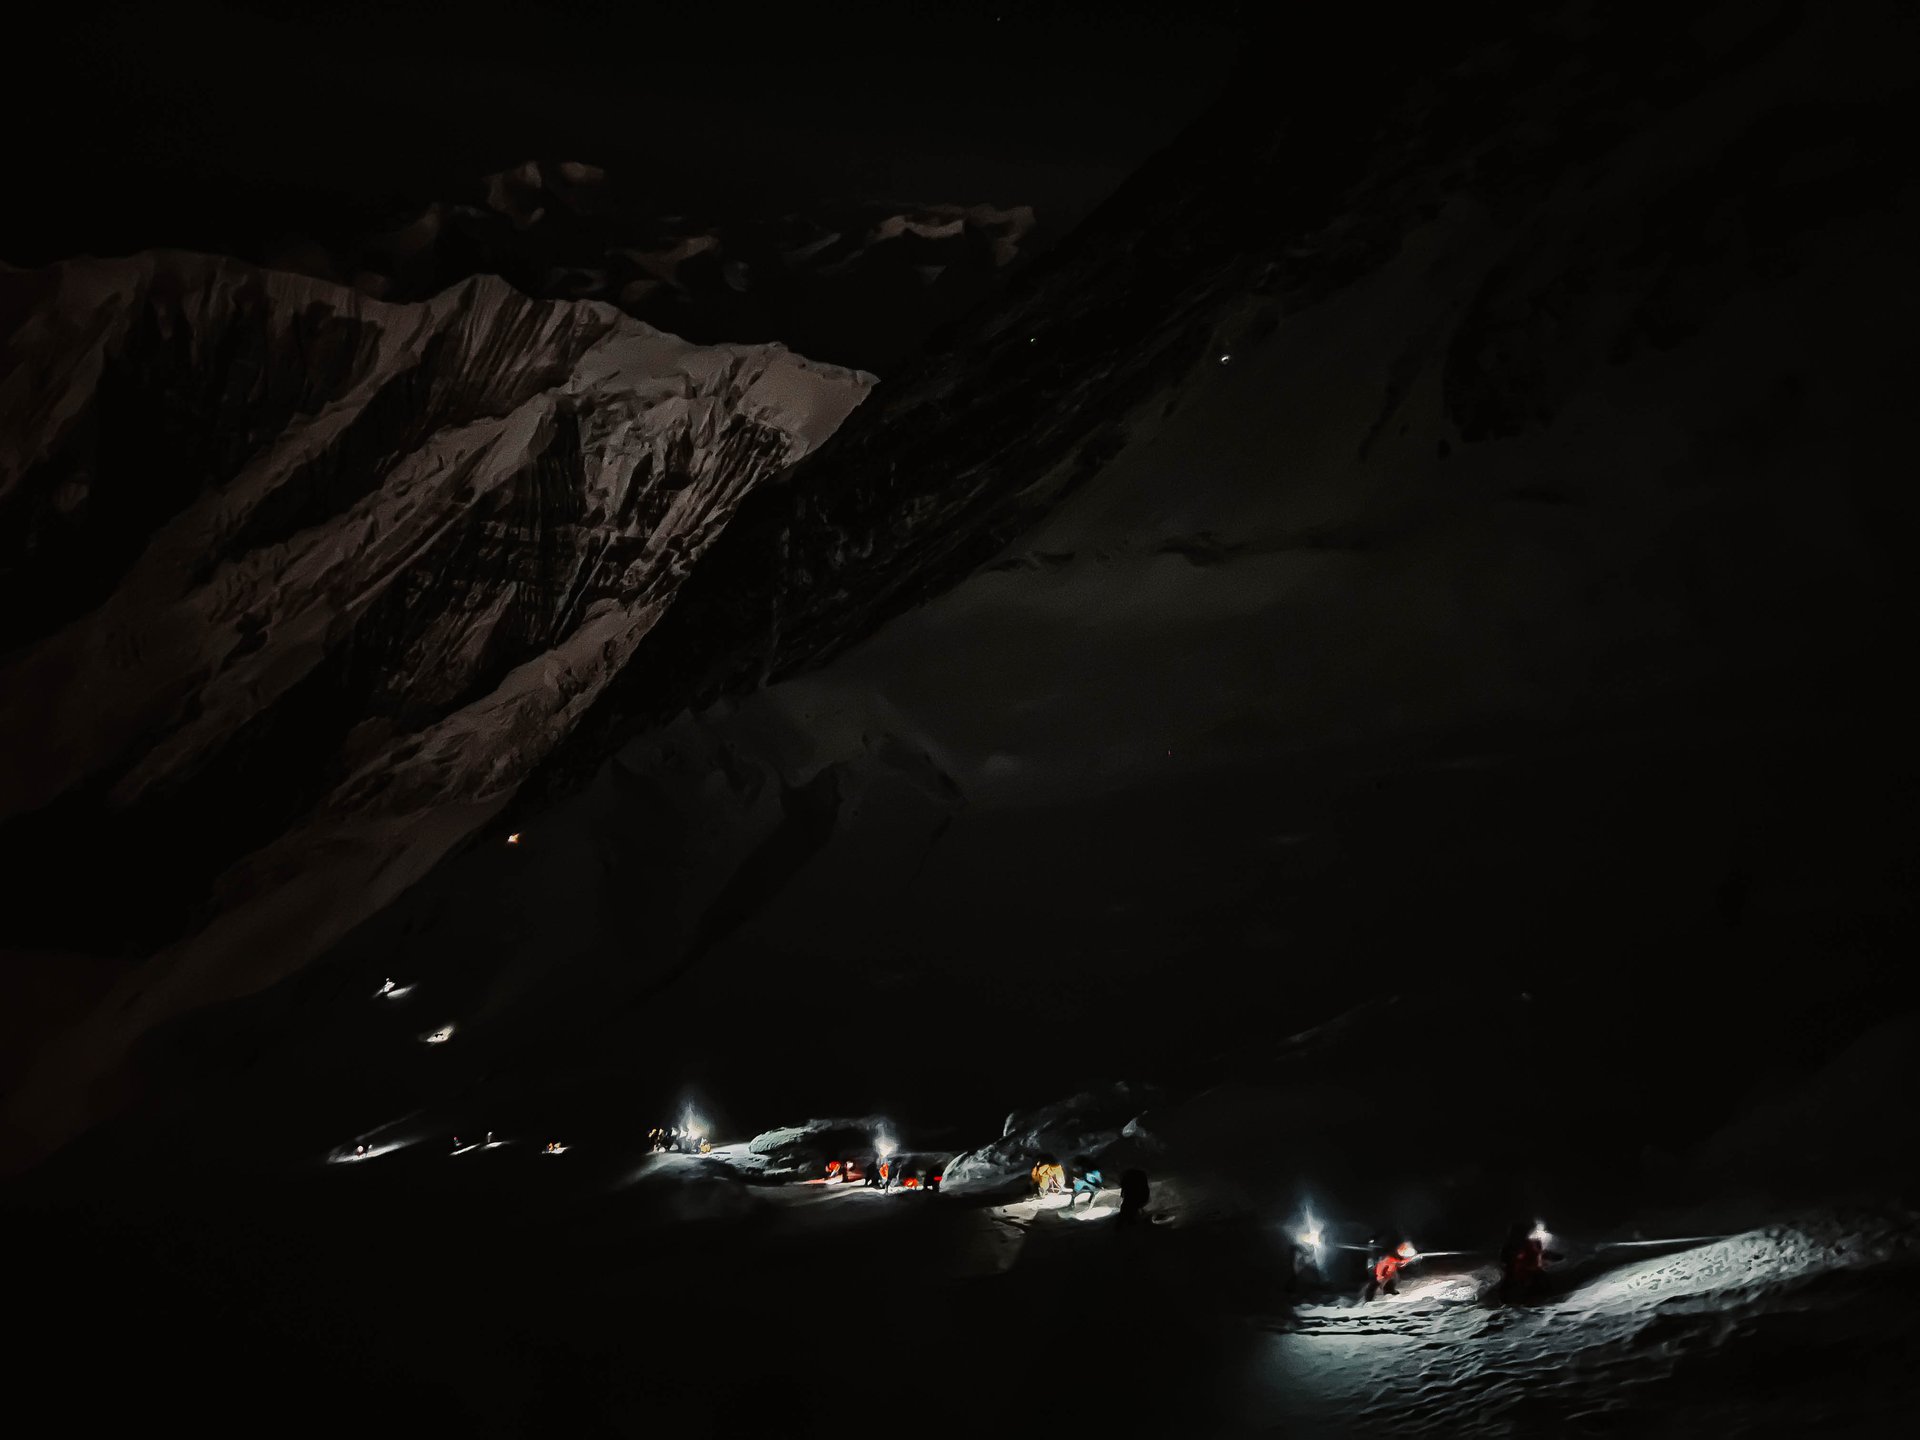
Pre-dawn departure via the Southeast Ridge through an exposed upper section to the Baruntse summit. Descend to Camp I or Base Camp.
27
|
Descend to Baruntse Base Camp |
Breakfast / Lunch / Dinner |
Tent |
|
|
Full descent to Base Camp followed by a post-summit celebration at AltiPro Café.
28
|
Rest & Recovery at Base Camp |
Breakfast / Lunch / Dinner |
Tent |
|
|
Rest and recovery day at Base Camp, beginning the process of packing expedition equipment.
29
|
Trek to Khamedingma (4,600m) |
Breakfast / Lunch / Dinner |
Tent |
|
|
Trek from Base Camp to Khamedingma, beginning the exit toward Amphu Laptsa.
30
|
Trek to Amphu Laptsa Base Camp (5,350m) |
Breakfast / Lunch / Dinner |
Tent |
|
|
Trek from Khamedingma to Amphu Laptsa Base Camp across final moraine terrain.
31
|
Cross Amphu Laptsa Pass to Chukhung (4,730m) |
Breakfast / Lunch / Dinner |
Lodge |
|
|
Cross Amphu Laptsa Pass (5,845m) via a technical fixed-rope descent, arriving in Chukhung as the Khumbu Valley opens below.
32
|
Trek to Tengboche (3,860m) |
Breakfast / Lunch / Dinner |
Lodge |
|
|
Trek from Chukhung to Tengboche via Dingboche and Pangboche, with Ama Dablam dominating the horizon.
33
|
Trek to Namche Bazaar (3,440m) |
Breakfast / Lunch / Dinner |
Lodge |
|
|
Final descent into the Sherpa capital, with the first hot shower in weeks.
34
|
Trek to Lukla (2,840m) |
Breakfast / Lunch / Dinner |
Lodge |
|
|
Final trekking day of the expedition, bidding farewell to the Himalaya.
35
|
Fly Back to Kathmandu |
Breakfast / Dinner |
Hotel |
|
|
Flight from Lukla to Kathmandu, transfer to hotel, farewell dinner, and Baruntse summit certificate presentation.
36 – 40
|
Buffer Days — Weather & Logistics Reserve |
Breakfast |
Hotel |
|
|
Buffer days held for weather delays, a second summit window, or Lukla flight disruptions.
41
|
Final Departure from Kathmandu |
Breakfast |
Hotel |
|
|
Transfer to Kathmandu Tribhuvan International Airport for onward international flights.
| ||||||||||||||||||||||||||||||||||||||||||||||||||||||||||||||||||||||||||||||||||||||||||||||||||||||||||||||||||||||||||||
Services
Includes
Excludes
Gear Lists & Useful Information
Been on this expedition?
Your feedback helps other travelers plan their adventure of a lifetime. Share your experience with us!
Ready to Start Your Adventure?
Contact us to book your expedition or get more information